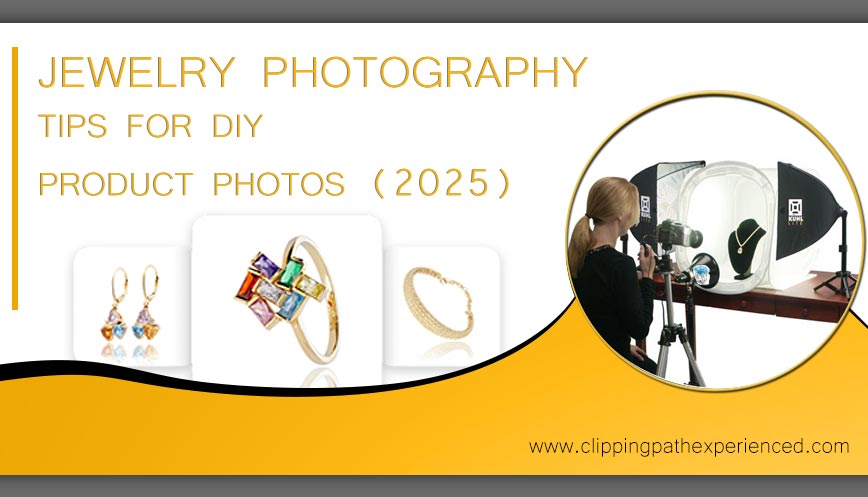
Jewelry Photography Tips for DIY Product Photos – Enhance with Clipping Path Experienced
Why High-Quality Jewelry Photography Matters
Jewelry Photography Tips are crucial when it comes to showcasing your jewelry online. When customers browse your website, the photos are the first impression of your brand. For jewelry, where craftsmanship and detail are key, poor-quality images can turn potential buyers away. High-quality visuals create trust, communicate value, and drive conversions. Professional-looking photos can mean the difference between browsing and buying.
Essential Jewelry Photography Tips Equipment
1. Must-Have Tools for Beginners
Investing in basic photography tools ensures your DIY setup achieves professional results. Here are the essentials:
Camera: While DSLRs like the Canon EOS Rebel series are ideal, modern smartphones with advanced cameras can also deliver impressive results. For example, the iPhone 16 Pro or Samsung Galaxy S24 series, both equipped with top-tier camera technology, are excellent for high-quality photography.
Tripod: Stability is crucial for sharp images. A sturdy tripod ensures consistency across shots.
Lighting: Use natural light if possible. Otherwise, invest in affordable LED lights or softboxes for a controlled setup.
Background: A white paper sweep creates a clean, distraction-free background.
Reflectors or Foam Boards: Bounce light back onto the jewelry to eliminate harsh shadows and enhance details.
Pro Tip: If you want perfectly clean backgrounds, Clipping Path Experienced, Background Removal Service is an excellent resource.
2. Optional Enhancements for Advanced Shoots
For added professionalism:
- Macro Lens: Captures intricate details of gemstones and settings.
- Light Tent: Helps diffuse light evenly, reducing glare on shiny surfaces.
- Props: Velvet pads, acrylic stands, or jewelry holders can enhance the visual appeal.
Camera Settings for Jewelry Photography
To capture the fine details that make jewelry appealing:
- Aperture: Use a small aperture (f/11 or greater) for maximum sharpness and depth of field.
- ISO: Keep ISO low (e.g., ISO 100) to minimize noise.
- White Balance: Adjust to match your light source for accurate color reproduction.
- Shutter Speed: Use a slower shutter speed with a tripod for stable and well-exposed images.
Preparing Your Jewelry for Photography
Before you start shooting, preparing your jewelry is vital:
- Clean Your Jewelry: Fingerprints, smudges, and dust can ruin the look of your images. Polish each piece thoroughly.
- Handle with Gloves: Prevent new smudges by using cotton or latex gloves.
- Inspect for Flaws: Double-check for missing stones or visible scratches, which might require retouching later.
Styling Tips
- Use simple props like ring holders, velvet mats, or wooden blocks.
- Incorporate lifestyle shots with models wearing the jewelry for added context and appeal.
Setting Up Your DIY Jewelry Photography Tips Studio
A dedicated space for your shoot helps maintain consistency. Here’s how to set it up:
1. Lighting Setup
- Position your light source at a 45-degree angle to the jewelry.
- Use a reflector or foam board opposite the light to fill shadows.
- Avoid overhead lights that create unwanted reflections.
2. Background Setup
- Use a white paper sweep to ensure a seamless background.
- For reflective pieces like silver or gold, consider black backgrounds to enhance contrast.
3. Positioning Your Jewelry
- Center the jewelry on your background.
- Use adhesives like museum putty to stabilize pieces if needed.
- Experiment with angles to highlight unique details.
Taking the Perfect Shot
Once everything is set, follow these steps:
- Frame the Jewelry: Ensure the entire piece fits into the frame with a little extra space around the edges.
- Focus on Details: Use manual focus to capture intricate designs, especially for gemstones.
- Take Multiple Shots: Experiment with different angles, light settings, and focal lengths.
Expert Tip: For high-quality finishing, use Clipping Path Experienced Jewelry Retouching Services for professional edits like color correction and shadow effects.
Editing Your Jewelry Photos
Post-production is where your images truly shine. Even with a great setup, editing can refine the final product. Here’s what to focus on:
1. Adjust Brightness and Contrast
Enhance the metal’s shine and gemstone brilliance by balancing light and dark areas.
2. Remove Imperfections
Eliminate background noise or blemishes using tools like Adobe Photoshop or Lightroom.
3. Add Shadows and Reflections
Create realistic effects like drop shadows, natural shadows, or mirror reflections for added depth and professionalism.
Recommended Services:
Jewelry Photography on a Budget
You don’t need a massive budget to achieve great results. Here’s how to optimize costs:
- Use natural light instead of expensive artificial setups.
- Edit photos yourself with free tools like Canva or GIMP.
- Outsource complex edits to affordable services like Clipping Path Experienced.
Common Mistakes to Avoid
Avoid these pitfalls to ensure your jewelry photos look professional:
- Inconsistent Lighting: Always maintain uniform light across all images.
- Neglecting Preparation: Dirty or poorly styled pieces can appear unprofessional.
- Ignoring Details: Focus on sharpness and clarity to capture intricate designs.
- Overediting: Avoid unnatural colors or excessive filters.
Conclusion
Mastering DIY jewelry photography is achievable with the right tools, techniques, and a touch of creativity. Remember, your images are the face of your brand—make them count. If you’re looking to save time and achieve flawless results, Clipping Path Experienced offers expert editing services tailored to your needs.
Transform your jewelry photography today and attract more customers with captivating, professional-grade images!

